This is the multi-page printable view of this section. Click here to print.
Containers
- 1: Setup
- 2: Java Monitoring Tooling
- 3: Docker Tooling
- 4: References
1 - Setup
In this section we’re going to spin up the containers needed for the workshop.
Note
- Make sure you’ve gone through the Prerequisites.
- Make sure your Docker daemon is running.
- If this is the first time you’re using docker, we recommend going through Orientation and Setup to quickly learn a few concepts.
Building
The maven project uses the fabric8.io/docker-maven-plugin to create two images:
workshop-server- the docker image for the workshop serviceworkshop-wiremock- the docker image for the wiremock service
Run mvn clean package -Pdocker , the docker profile enables the docker-maven-plugin.
You can view the generated images with docker image ls | grep workshop:
$ docker image ls | grep workshop
workshop-wiremock                                                             1.1.0-SNAPSHOT                 2cc43b2348c8   2 minutes ago   657MB
workshop-wiremock                                                             latest                         2cc43b2348c8   2 minutes ago   657MB
workshop-server                                                               1.1.0-SNAPSHOT                 be7cfbd0735a   2 minutes ago   659MB
workshop-server                                                               latest                         be7cfbd0735a   2 minutes ago   659MB
Running
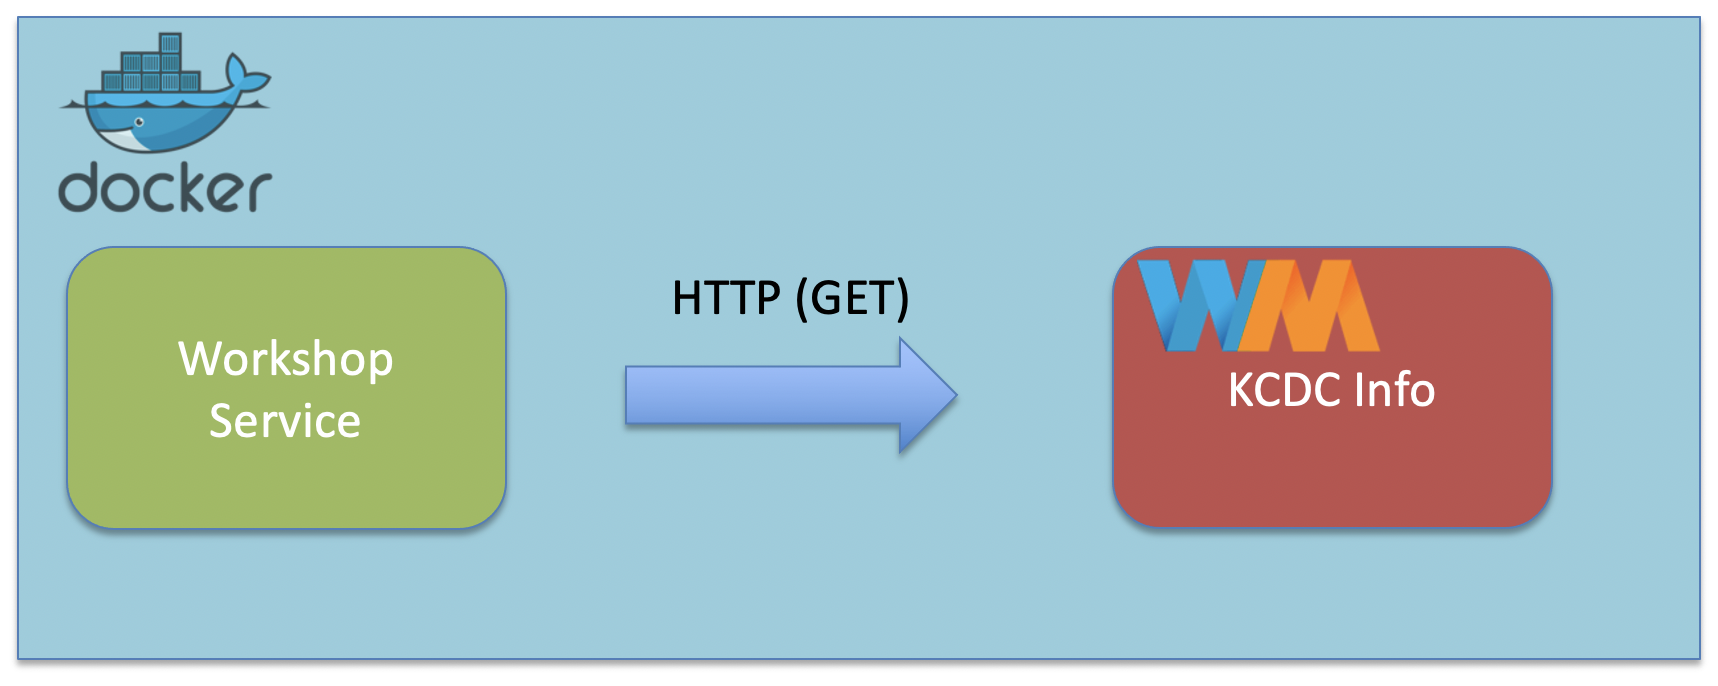
Since our Workshop Service depends on the Wiremock Service, we’re going to use docker-compose to create a docker environment with both our services ready to go:
Within the java-perf-workshop directory, run docker-compose up:
$ docker-compose up
Creating network "java-perf-workshop_default" with the default driver
Creating java-perf-workshop_wiremock_1 ... done
Creating java-perf-workshop_server_1   ... done
Attaching to java-perf-workshop_wiremock_1, java-perf-workshop_server_1
...
wiremock_1  | port:                         8080
wiremock_1  | enable-browser-proxying:      false
wiremock_1  | disable-banner:               false
wiremock_1  | no-request-journal:           false
wiremock_1  | verbose:                      false
wiremock_1  |
...
server_1    | INFO  [2021-03-14 18:59:06,883] org.eclipse.jetty.server.AbstractConnector: Started application@4c777e7b{HTTP/1.1,[http/1.1]}{0.0.0.0:8080}
server_1    | INFO  [2021-03-14 18:59:06,892] org.eclipse.jetty.server.AbstractConnector: Started admin@5f038248{HTTP/1.1,[http/1.1]}{0.0.0.0:8081}
server_1    | INFO  [2021-03-14 18:59:06,892] org.eclipse.jetty.server.Server: Started @4358ms
In another terminal, you can check the status of the containers by running docker ps:
$ docker ps
CONTAINER ID   IMAGE                      COMMAND                  CREATED          STATUS          PORTS                              NAMES
c9aeb5375f79   workshop-server:latest     "/bin/sh -c 'java -j…"   52 seconds ago   Up 50 seconds   0.0.0.0:8080-8081->8080-8081/tcp   java-perf-workshop_server_1
6b1522e7acb9   workshop-wiremock:latest   "/bin/sh -c 'java -j…"   52 seconds ago   Up 51 seconds                                      java-perf-workshop_wiremock_1
Our workshop service container is exposing port 8080 and mapping it into the container’s 8080. Verify that your setup is working by visiting: http://localhost:8080/search?q=docker.
In the next section, we'll learn how to enable Java Monitoring Tooling to work with containers.
Java Monitoring Tooling2 - Java Monitoring Tooling
In this section we’re going to configure our container to enable remote tooling.
Note
- Make sure you’ve gone through the Prerequisites.
- Make sure your Docker daemon is running.
- If this is the first time you’re using docker, we recommend going through Orientation and Setup to quickly learn a few concepts.
Remote Monitoring
In previous sections of the workshop, we ran all our tooling without any configuration. In previous versions of Java you would have had to configure things even for local monitoring, this is no longer the case with Java 6+:
Any application that is started on the Java SE 6 platform will support the Attach API, and so will automatically be made available for local monitoring and management when needed.
Since the docker-compose network and containers are ran separate from our host (consider them a different machine), we need to enable remote monitoring and management.

Properties
We’ll set the following properties as a JAVA_OPTS environment variable when we start our workshop server container:
- The
JMX remote portto8082:-Dcom.sun.management.jmxremote.port=8082 - The RMI registry port also set to
8082:-Dcom.sun.management.jmxremote.rmi.port=8082 - Disabling for both the registry and jmx:
-Dcom.sun.management.jmxremote.registry.ssl=falseand-Dcom.sun.management.jmxremote.ssl=false - Accept connections not from localhost:
-Dcom.sun.management.jmxremote.local.only=false- Since the machine we are connecting from will not be in the container network, we need to allow non localhost connections.
- The host name for the RMI server will be set to
127.0.0.1. The default value for this will be the container’s IP address, which we are overriding.
Set these values as an environment property on your workshop container:
...
  server:
    image: workshop-server:latest
    environment:
      JAVA_OPTS: "
        -Dcom.sun.management.jmxremote.port=8082
        -Dcom.sun.management.jmxremote.rmi.port=8082
        -Dcom.sun.management.jmxremote.registry.ssl=false
        -Dcom.sun.management.jmxremote.authenticate=false
        -Dcom.sun.management.jmxremote.ssl=false
        -Dcom.sun.management.jmxremote.local.only=false
        -Djava.rmi.server.hostname=127.0.0.1
      "
...
Test Our Setup
Spin up your services again with docker-compose up. Once the services are started, use docker ps to check the open ports on the workshop server. Notice that 8082 is now mapped as well.
$ docker ps
CONTAINER ID   IMAGE                      COMMAND                  CREATED          STATUS          PORTS                              NAMES
44d4a1ebedef   workshop-server:latest     "/bin/sh -c 'java $J…"   39 seconds ago   Up 37 seconds   0.0.0.0:8080-8082->8080-8082/tcp   java-perf-workshop_server_1
JDK Mission Control
We’ll use JDK Mission Control to create a JMX Connection.
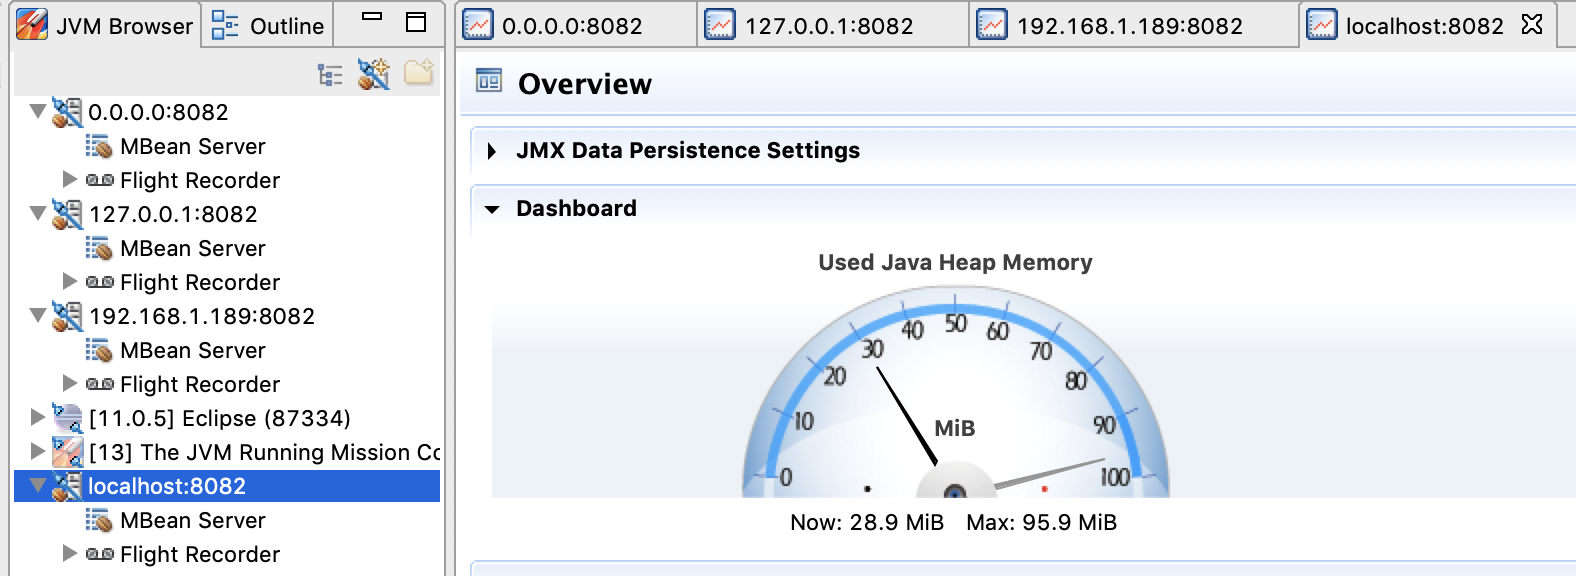
Open JDK Mission Control. Notice that the JVM Browser no longer shows the two services (since they no longer are running on the local host):
![]()
Create a new JMX Connection using 0.0.0.0 and 8082 as the host and port:
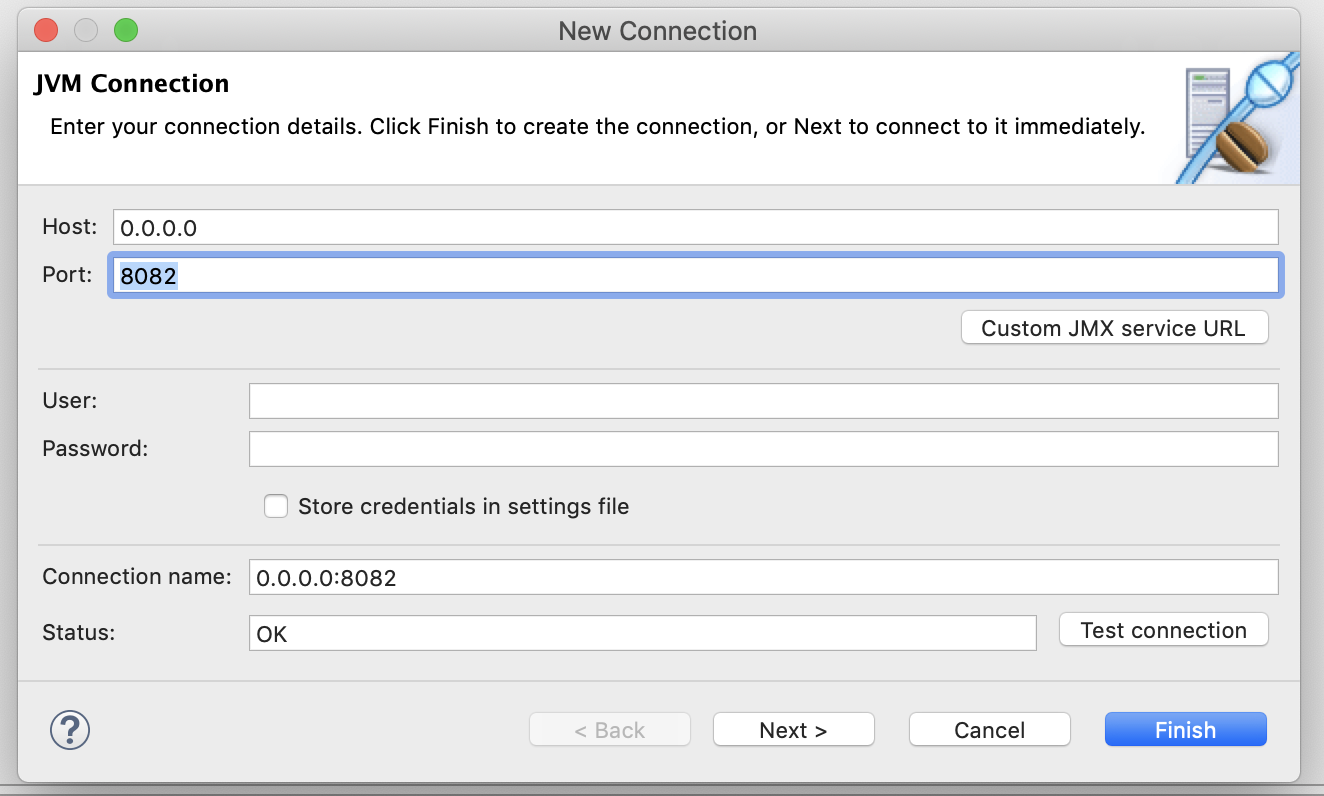
With our setup, we can connect with other addresses as well:
127.0.0.1localhost(since we are exposing port 8082 on the container as port 8082 on the local host)- Our wifi/ethernet IP address, which you can find under the
en0interface usingifconfig/ipconfig:$ ifconfig ... en0: flags=8863<UP,BROADCAST,SMART,RUNNING,SIMPLEX,MULTICAST> mtu 1500 ether 8c:85:90:ba:52:10 inet6 fe80::1862:95fe:55e7:284e%en0 prefixlen 64 secured scopeid 0x9 inet 192.168.1.189 netmask 0xffffff00 broadcast 192.168.1.255 ...
In the next section, we'll learn about some Docker tooling.
Docker Tooling3 - Docker Tooling
In the next section, X
References